DIY Beeswax Wraps
Have you gotten on the beeswax wrap train yet? They are a sustainable alternative to plastic cling wrap and a great way to reduce plastic waste in your home. It’s also easy to make your own DIY beeswax wraps. You can even repurpose your old natural fabrics for this project.
WHAT ARE BEESWAX WRAPS?
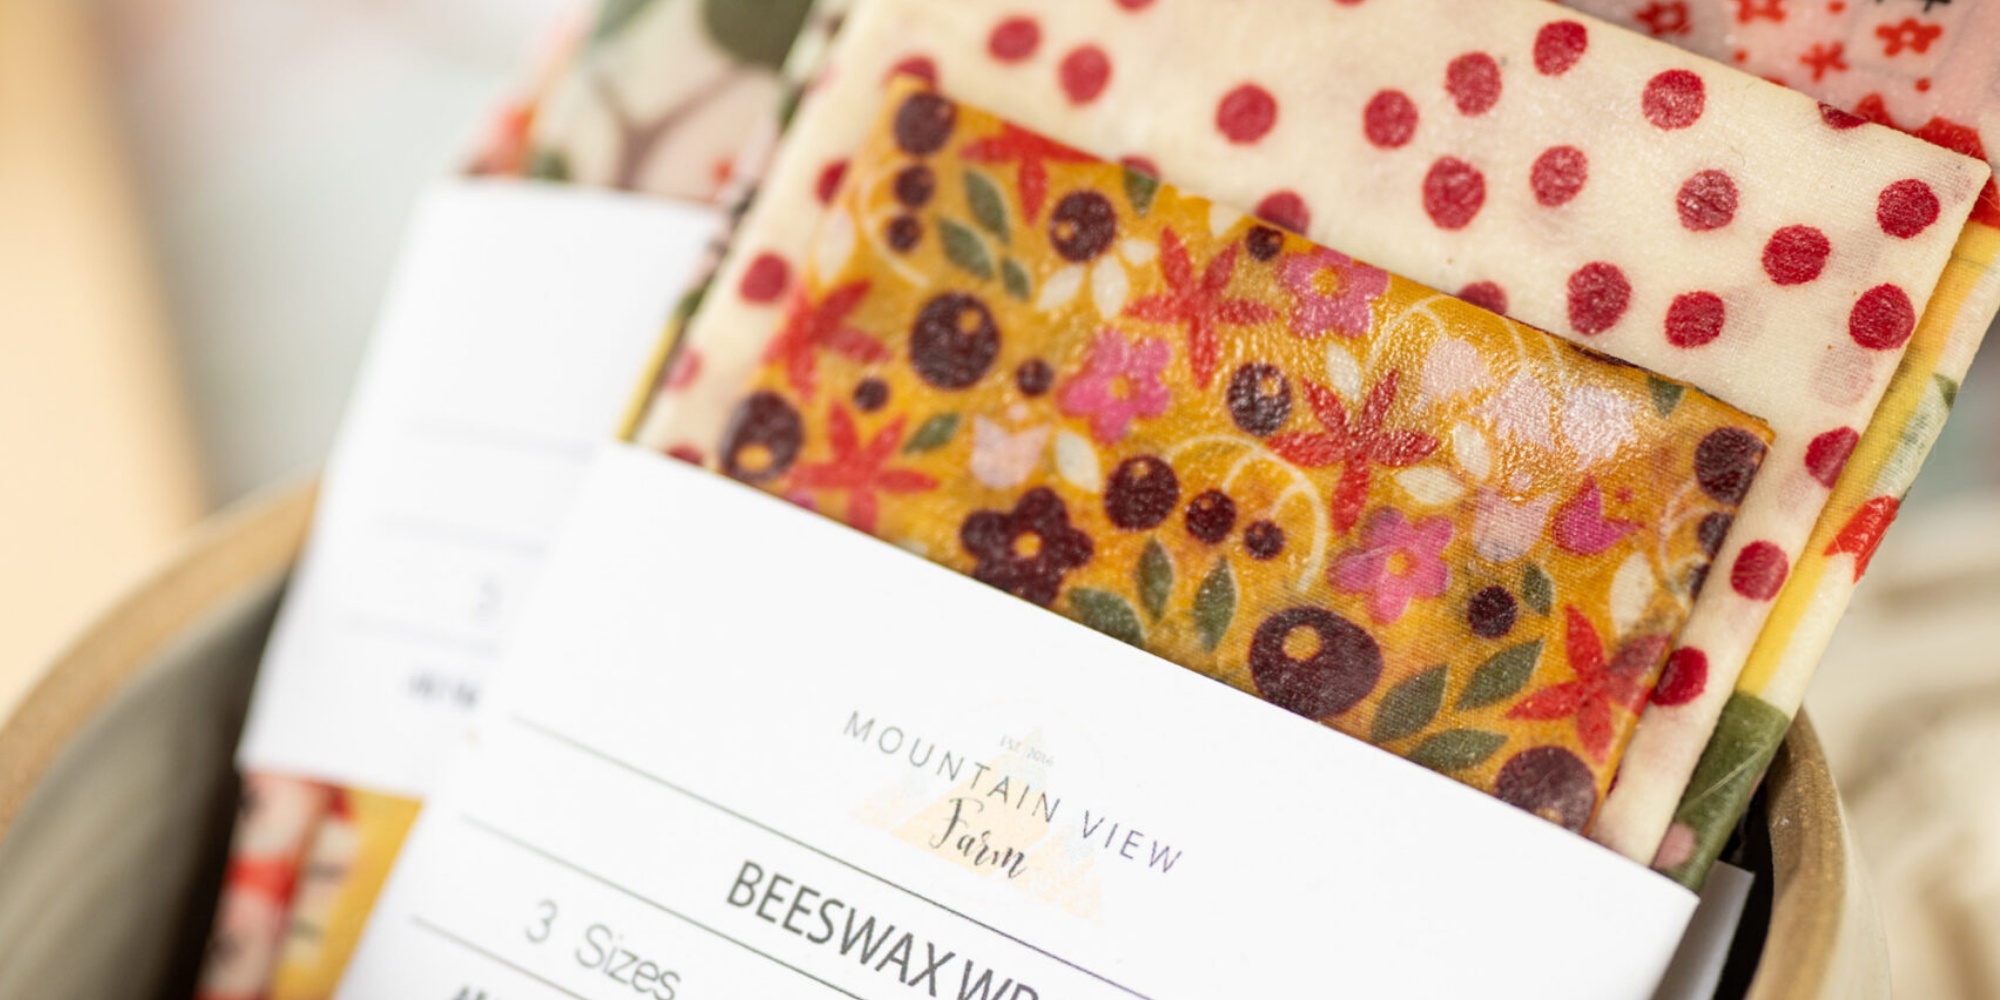
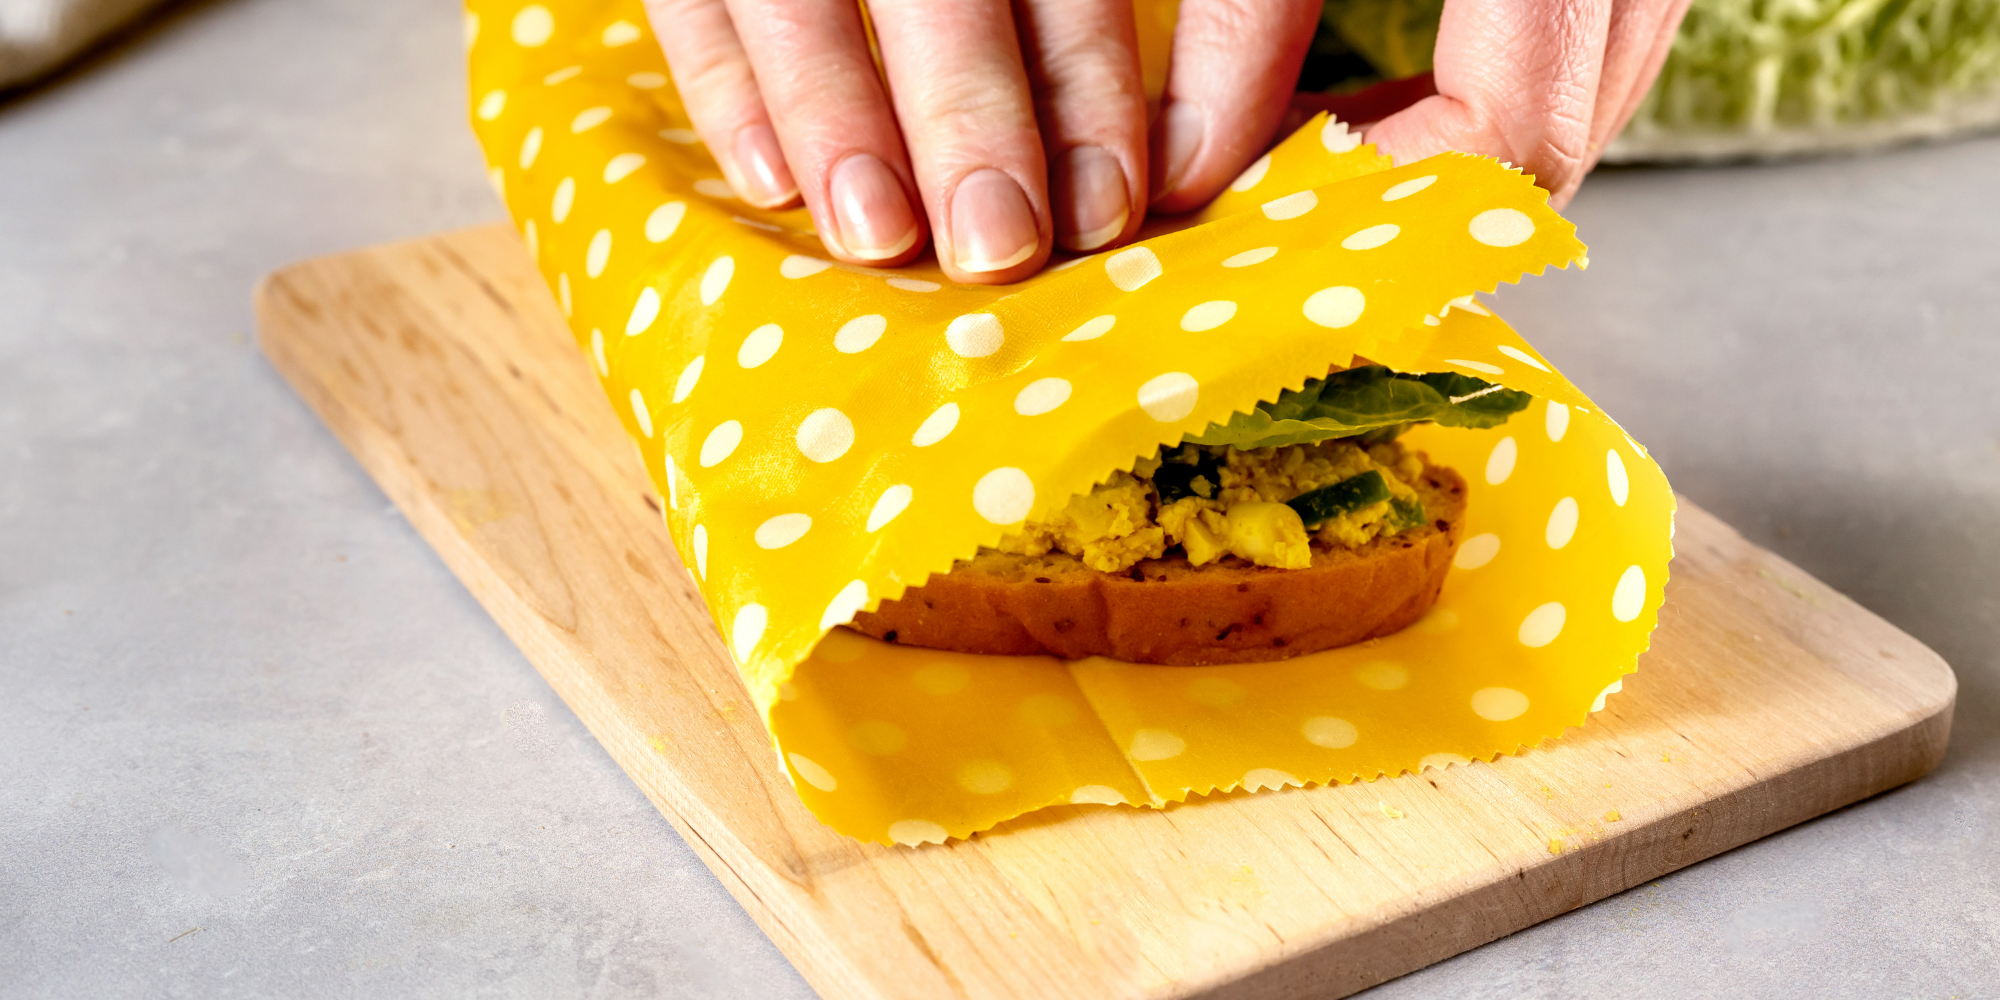
Beeswax wraps are pieces of fabric that have been coated in pure beeswax and sometimes tree resin and oil. They are moldable, slightly sticky, and used to protect, seal, or package food. Furthermore, beeswax wraps are reusable, non-toxic, and biodegradable. You can purchase pre-made ones or make your own. We use our homemade beeswax wraps to cover food containers, or to wrap food directly. You can also sew them into snack or sandwich baggies.
WHY USE BEESWAX WRAPS?
Besides being eco-friendly, beeswax has natural antibacterial and anti-fungal properties, so they’re quite sanitary. Food wrap products containing beeswax are effective at preventing food spoilage and inhibit the spread of harmful food-borne bacteria. However, be sure to follow the best practices to keep them clean (described below). The combination of beeswax and cloth creates a breathable food wrap that locks in moisture, keeps food fresh longer, but also allows it to naturally breathe.
TUTORIAL
The most simple and straightforward method to make them is using only fabric and beeswax. However, some homemade beeswax recipes call for other optional ingredients like jojoba oil and pine resin. You’ll commonly see these additions in commercially made beeswax wraps. They make the wraps more pliable at room temperature, and also help them stick to surfaces and themselves more readily. When I am making them to sell in the Farm Store, I use this option. If I am just making some for myself, the fabric and wax version works just fine and I warm them in my hands to make them more pliable.
Fabric
It is best to use 100% cotton, hemp or linen fabric to make homemade beeswax wraps. Organic or re-used fabric is all the better! Natural fabrics like cotton will readily soak up the beeswax right into its fibers. In contrast, synthetic fabrics that contain polyester or nylon will not absorb it as easily. The beeswax will remain more on the surface and will eventually flake off.
Supplies
Beeswax pastilles or shaved block beeswax (as needed to cover fabric)
100% cotton or a natural fabric such as linen (suggested sizes in Step One below)
Scissors or pinking shears
Parchment paper or tin foil
Baking sheet(s) and oven
A paint brush (It is probably better to use a brush with natural bristles but keep in mind the brush will get covered in wax and may not be suitable for other projects anymore. ( You could try cleaning the brush by dipping it in boiling water to remove the wax.)
Double boiler (You could use a large can, with label removed, in a small pot of boiling water) - If using the Alternative recipe.
Alternative recipe option to just the beeswax:
2 tablespoon Organic Jojoba Oil
4 tablespoons Pine Resin
1/2 cup Beeswax pastilles or shaved bock beeswax
INSTRUCTIONS
Step 1 – Cut the Fabric:
If you haven’t already, wash and dry your chosen fabric as needed.
Cut the fabric with pinking shears (to reduce fraying) into desired shapes (they don’t need to be square) and sizes of your choice. Some suggested sizes are:
Small – 7” or 8” square: ideal for covering small items like the top of a mason jar, half an apple or avocado, or the cut end of a cucumber
Medium – 10” or 11” square: ideal for covering an average bowl, block of cheese, half a sandwich, or other small to medium vegetables like a partial head of cabbage
Large – 13” or 14” square: ideal for covering a full sandwich, half a modest watermelon, small baking dish, average pie pan, medium mixing bowl or basket for proofing sourdough.
Extra-large – 16” or greater: ideal for covering large bowls, baking dishes, whole or partial loaves of bread, and more.
NOTE: If you like things a little more finished, you could hem the cut edges of the fabric with a sewing machine.
Step 2 – Prep:
Preheat oven to the lowest setting (150°F to 200°F).
Line a baking tray with parchment paper or tin foil.
Lay the pieces of fabric on top. You should be able to fit a couple small to medium size beeswax wraps per baking sheet, or one larger one.
Step 3 – Melt & Spread Beeswax
Simple Version: Sprinkle beeswax pastilles or shavings evenly over the surface. Be sure to get some near the edges of the fabric too. It’s better to err on the lighter side, since too much wax can make the wrap more stiff and even flaky. You can always add more but you can sop up any excess if you have added too much.
Place the baking sheet with wax-sprinkled fabric in the warm oven for about 5 minutes, or until the beeswax is fully melted and has soaked into the fabric. Once melted, remove the tray from the oven.
Work quickly to run a brush back and forth across the fabric to evenly spread the melted wax, dispersing any pooled/heavy spots towards the edges.
Alternate Version: Combine 1/2 cup beeswax pastilles, 4 tablespoons of pine resin, and 2 tablespoons of organic jojoba oil in a double boiler on the stovetop. Heat until melted and fully combined.
Use a brush to apply an even coat of the mixture across the surface of the fabric. It should be enough to absorb and saturate the fabric (covering at least four small-to-medium wraps or 2 large), but not pool and be drippy. You’ll have to work quickly to prevent the wax from hardening as you go.
Step 4 – Finishing Touches:
The wax may have hardened if you worked too slowly, or could be uneven but you can always put them in the oven to re-melt if needed.
Let them dry out thoroughly on a piece of parchment (so they are less messy and easier to remove). Then they are ready to use!
TROUBLESHOOTING AND MAINTENANCE
As you use, bend, and shape your beeswax wraps, it is totally normal for creases and faint white lines to develop. However, if you were a little too heavy-handed with the beeswax, it may get flaky and shed. In that case, put your homemade beeswax wrap back in the warm oven, allow the wax to re-melt, sop up some of the excess wax with a paper towel, and then put it back in the oven once more to even out and finish. In contrast, if your wrap feels limp and not waxy enough (or has visible areas missing wax) toss it back in the oven with an additional sprinkle of beeswax to provide a thicker coating.
Homemade beeswax wraps should withstand quite a bit of use. Once they become old or less sticky, it is easy to refresh them. Just tuck the old wraps back in the warm oven with a small sprinkle of beeswax to provide a fresh coating and lease on life. If they’re really old and beat up, you could simply compost them. Since they’re made from 100% natural materials, beeswax wraps are biodegradable.
CARE AND CLEANING OF WRAPS
You can wash your homemade beeswax wraps with cold to lukewarm water and mild soap, such as a natural castile soap. Avoid using hot water since it can melt the wax. You can also wipe them down with a damp cloth. Allow the wraps to air dry and then store them in a cool, dry place. Once fully dry, you can fold them up and tuck them in a kitchen drawer or roll them up and keep them in a container on your counter (out of the sun).
USING YOUR BEESWAX WRAPS
Because you shouldn’t wash beeswax wraps with hot water and they therefore can’t be thoroughly sanitized, it is best to NOT use your wraps in contact with raw meat. It is also a good idea to avoid using beeswax wraps to cover food meant for infants or people with a compromised immune system just in case.
Homemade beeswax wraps usually stick to themselves better than a bowl or other object, so simply pinch the sides together to create a good hold. If they’re feeling a tad stiff and not super sticky, make them more pliable by warming between your hands briefly before use.